
- Shopblocks Knowledge Base
- Marketing
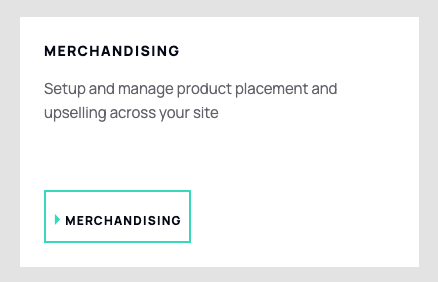
- Merchandising
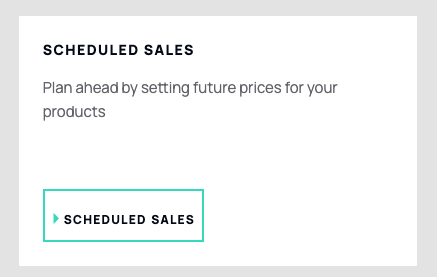
How do I create a Schedule Sale?
Plan ahead by setting future prices for your products.
- Navigate to the Marketing plugin. You can access this in the main menu of the Admin System.
2. Click on Merchandising.
3. Click on Schedule Sales > Schedule Sale.

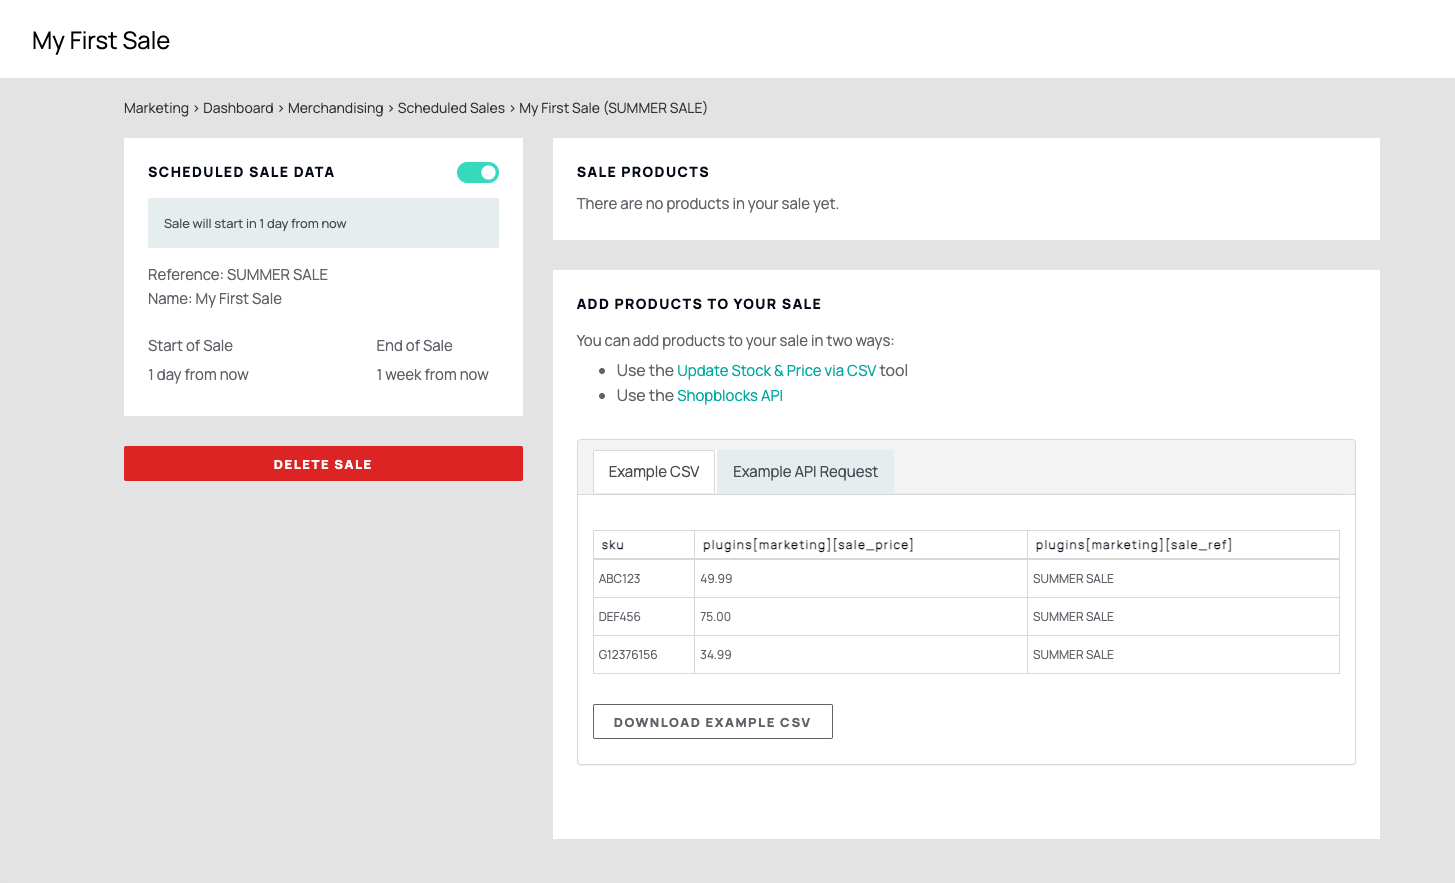
4. Provide a unique Reference for your sale. This reference is solely for internal use, ensuring it remains unseen by customers and serves as a tool for your personal organisation.
5. Add a Name.
6. Set the Start Date and the End Date.
7. Follow the real-time example shown at the bottom of the box and upload your CSV file.
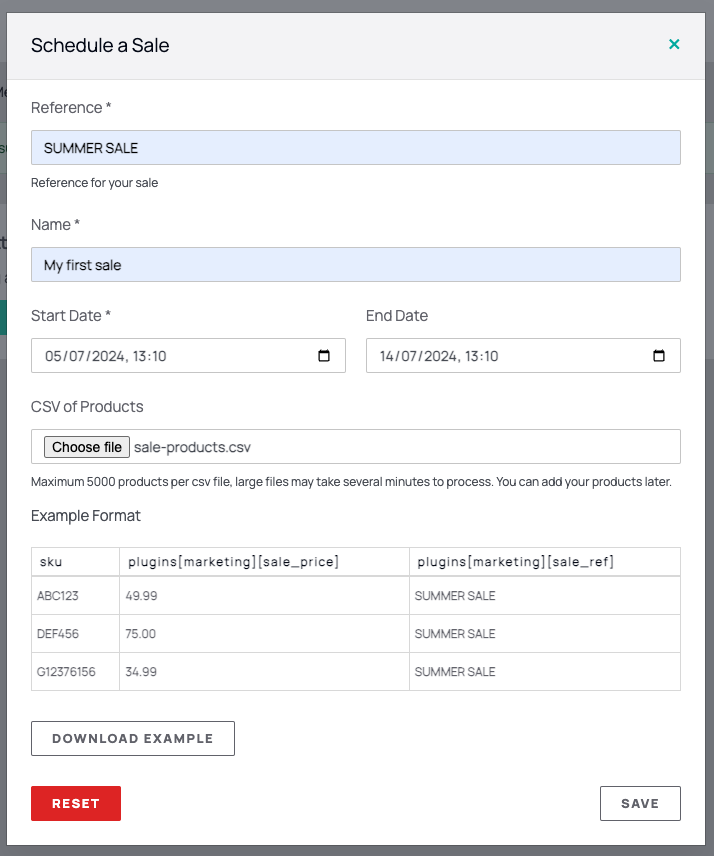
8. Lastly, click Save.
9. Done! Your sale is now scheduled.
For a more in-depth guide, feel free to watch the accompanying video tutorial for step-by-step instructions.