
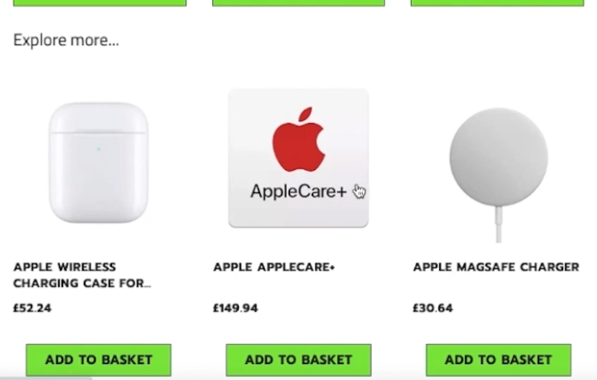
Placements are an effective way to boost sales by offering personalised product recommendations to your customers.
How do placements work?
When customers add products to their basket or proceed to checkout, they will see a section recommending products of your choice.
Placements operate based on tags, so the more tags your products have in common, the better!
This feature is highly accurate and always respects your preferences. It allows you to choose what your customers see, enhancing your cross-selling strategy on your website.
How do I implement placements?
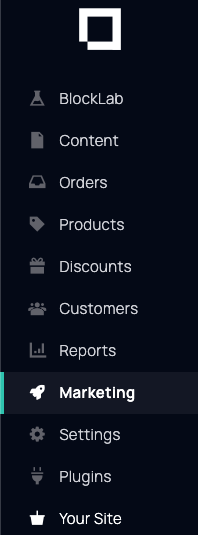
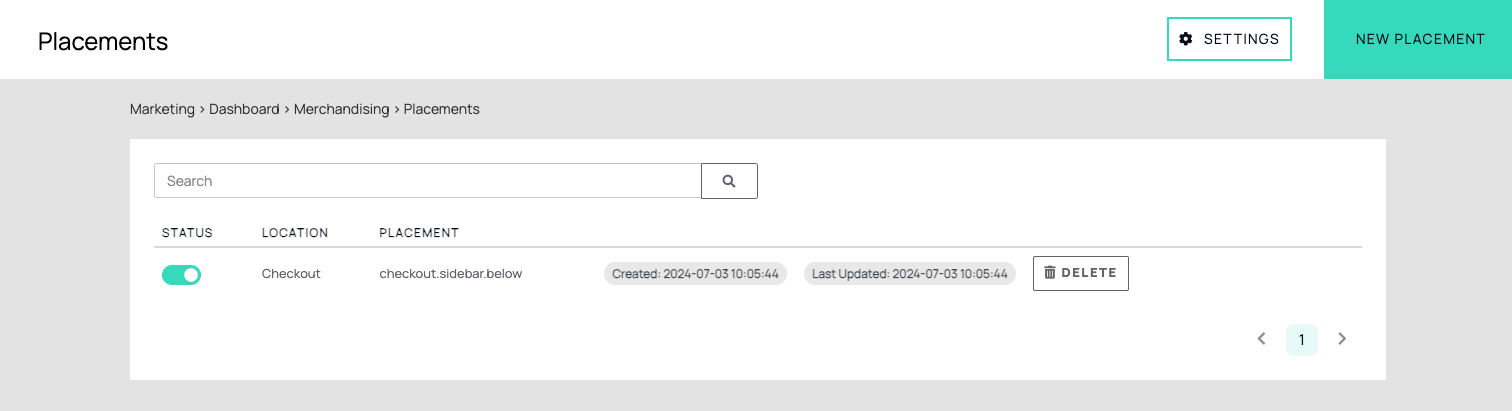
- Navigate to the Marketing plugin. You can access this in the main menu of the Admin System.
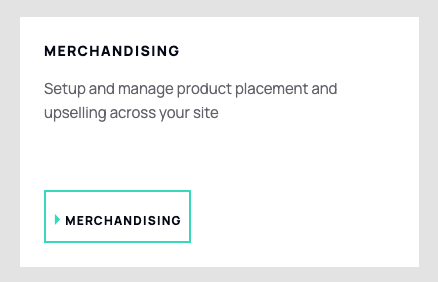
2. Click on Merchandising.
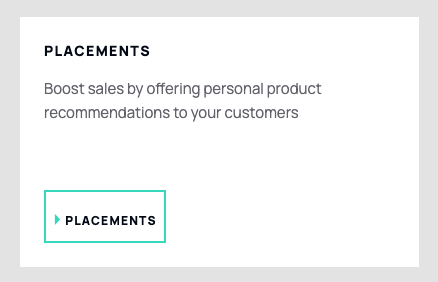
3. Click on Placements.
4. Click on New Placement

5. Select the location you want the placement to show on your website.
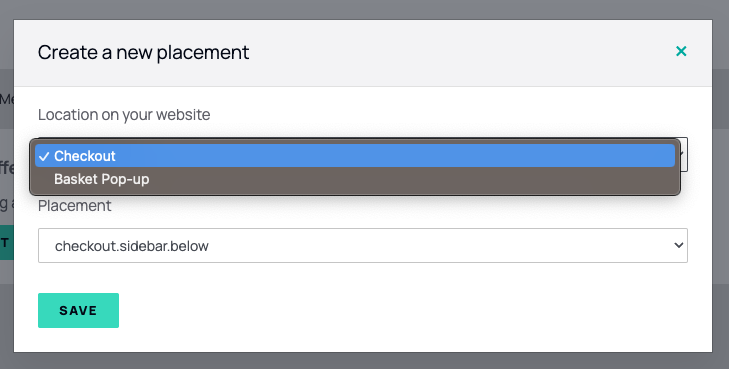
6. Click Save.
7. Make sure your placement is Active.
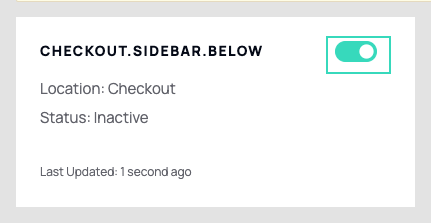
8. Change the Heading (optional).

9. Click Save at the top right.

How do I control what recommended products my customers can see?
- Head to the Placements area and click on Settings at the top right.
You will find a comprehensive list of the tags that have been applied to all of your products across the platform.
2. Use the Booster Bar to increase/decrease the power of the tags in the placement tool.
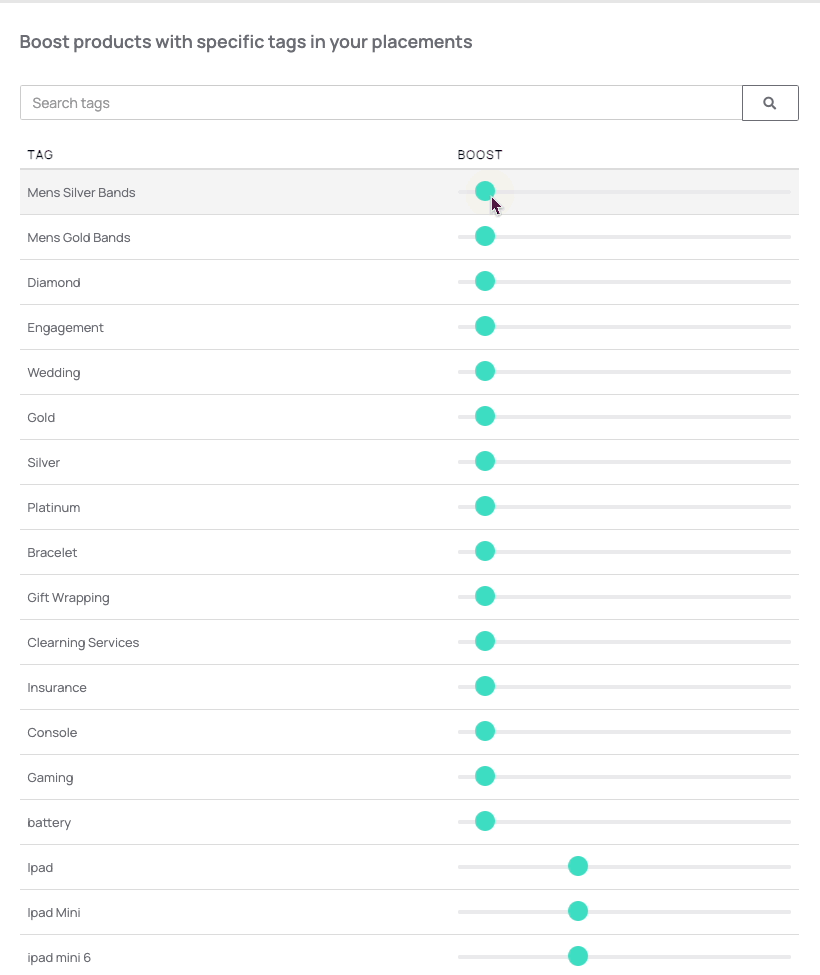
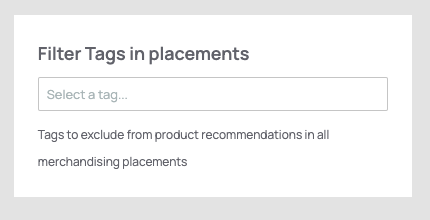
3. If there are certain tags you do not want to influence the recommended products in the placements, you have the option to exclude them.
4. Click Save at the top right.
For a more in-depth guide, feel free to watch the accompanying video tutorial for step-by-step instructions.